
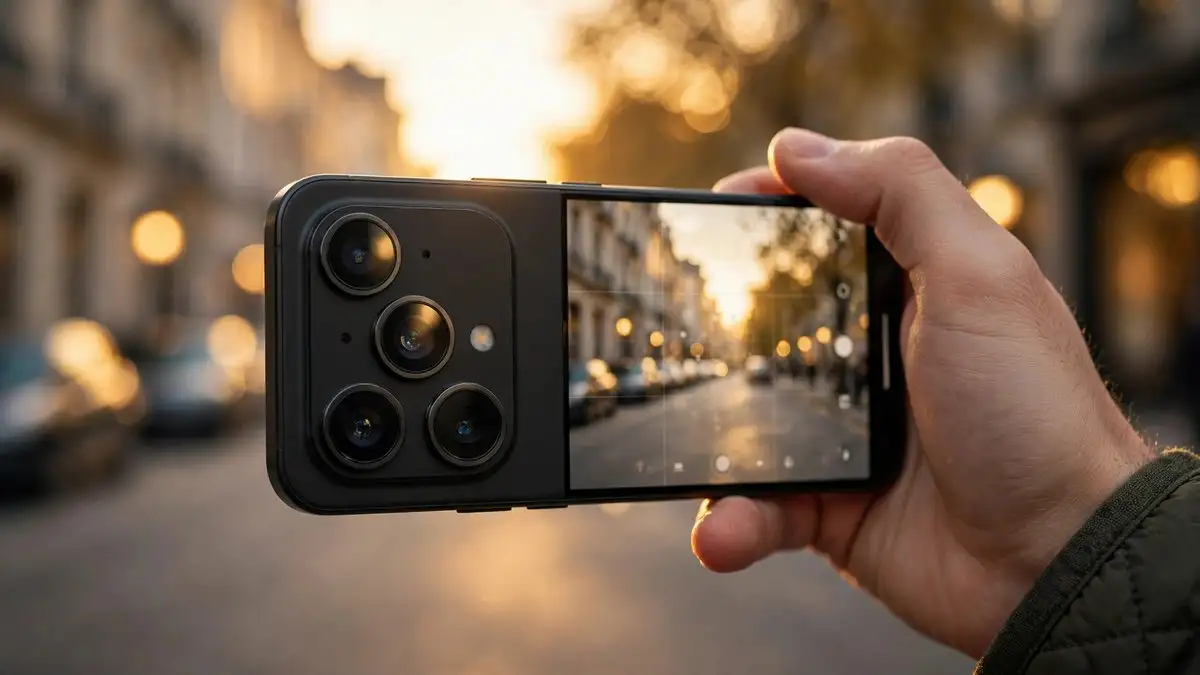
The iPhone 18 Pro ships with the biggest camera control upgrade the iPhone has seen in years: a variable aperture on the main camera and real manual control over shutter speed and white balance. But out of the box, most of that power sits two menus deep, and some of it quietly resets itself every time you close the Camera app.
Spend ten minutes on these settings before your next shoot and the phone behaves like the pro camera Apple marketed. Here is what to change, in the order that matters.
1. Install iOS 27.0.1 first
Before anything else, make sure the phone is updated. Apple’s iOS 27.0.1 update fixes a color artifact that appeared on photos shot at 2x under certain lighting on the 18 Pro and Pro Max, at the wide f/1.48 aperture. If your early iPhone 18 Pro photos show odd color fringing at 2x zoom, the update, not a setting, is the fix.
2. Pin Lens Aperture above the viewfinder
On iPhone 18 Pro models, Lens Aperture lives inside the Camera Controls menu, which gets tedious fast. In iOS 27 you can pin it above the camera frame so it is always one tap away. Open the Camera app, tap the Camera Controls button, tap Edit, tap Lens Aperture, then tap Done. The same screen lets you pin Shutter Speed, White Balance, and the Histogram.
3. Stop the Camera app from resetting your aperture
This is the annoyance The Mac Observer flagged: the iPhone 18 Pro forgets your manual aperture every time the Camera app closes, and reopens at Apple’s default. The fix is in Settings, Camera, Preserve Settings. Turn on Lens Aperture and the phone reopens at whatever aperture you last used, not a favorite you locked in, so shoot a landscape at f/4 and dinner at f/1.48 and the camera remembers the dinner setting.
While you are on that screen, turn on the other preservations too. Exposure Adjustment stops your manual exposure from locking only until the next open. Photographic Style keeps your last style instead of dropping it. Night Mode saves your choice instead of resetting to Auto, and Camera Mode reopens in the last mode you used, like Portrait or Pano.
4. Learn what the four apertures are for
The variable aperture works only on the 1x Main camera. The Ultra Wide and Telephoto have fixed apertures, so this is a main-camera skill. Apple offers four stops, and each has a job:
| Aperture | Best for | Watch out for |
|---|---|---|
| f/1.48 | Low light, soft optical background blur | Most light, most flare near bright sources |
| f/1.8 | Everyday shooting | The sweet spot, close to the old iPhone look |
| f/2.8 | More of the scene sharp, moderate light | Less light reaches the sensor |
| f/4 | Landscapes, deep depth of field, starbursts | Needs good light to avoid noise |
Notably, the iPhone Duo does not get any of this. Apple’s own store comparison lists no Pro controls and no variable aperture on the Duo, which is one of the clearest camera differences between the two phones. We broke down the full comparison in our iPhone Duo vs iPhone 18 Pro Max piece.
5. When bright lights flare, close down to f/1.8
Early camera comparisons found the iPhone 18 Pro’s widest setting has a real optical trade-off. In one bright-light comparison, the 18 Pro at f/1.48 showed a larger visible halo than the iPhone 17 Pro at its fixed f/1.8. But when the reviewer switched the 18 Pro to f/1.8, the two looked broadly similar, and f/1.8 even gave a pleasing sunstar rendition on bright lights.
The practical rule: if a sun or lamp near the frame throws a glowing patch on your photo at f/1.48, close down to f/1.8 before moving anything else. You keep most of the light gathering and lose most of the flare.
6. Turn on High Efficiency before touching Photographic Styles
This one is easy to miss and impossible to undo later. If you want to change or remove a Photographic Style after you have taken the photo, the photo must have been captured with High Efficiency image capture on. Apple’s Support guide says so plainly, and the switch is at Settings, Camera, Formats, tap High Efficiency.
It matters more than ever because Photographic Styles 3 adds new texture and grain controls on top of tone and color. Those edits stay adjustable in the Photos app only when High Efficiency is enabled. Shoot with Most Compatible and the style bakes into the file permanently.
7. Pick the right resolution for the job
The iPhone 18 Pro defaults to 24MP, and for everyday shooting that is the right call. It records noticeably more detail than 12MP while keeping files much smaller than 48MP shots, which matters for sharing and storage.
For landscapes, architecture, or anything you will crop later, 48MP HEIF Max is worth the switch. Enable it at Settings, Camera, Formats by turning on Resolution Control (or ProRAW & Resolution Control), then tap the resolution control inside the Camera app and choose the 48MP option. Save 48MP ProRAW Max for when you plan to edit seriously; the files are enormous.
8. Nudge exposure down a touch
iPhones tend to expose a little bright, which washes out contrast in daylight. Try EV minus 0.3 or minus 0.7 for everyday scenes. The slightly darker image holds richer contrast and deeper tones, and you can always lift shadows later. Set it once in the Camera Controls and, if you followed step 3, the phone will actually remember it this time.
Bonus: reserve Pro Video Storage before enabling ProRes
If you plan to shoot Apple ProRes, turning it on at Settings, Camera, Formats is only half the job. Apple’s iPhone User Guide says you then have to tap Configure Pro Video Storage and reserve space on the phone for pro video recordings, choosing between Log and Log 2. Do it during setup, not when a shot is waiting, because ProRes files fill storage fast and you only have to configure it once.
Get these right and the iPhone 18 Pro camera stops fighting you. And once the photos look right, our iOS 27 settings guide is worth a pass for the rest of the phone, from the charging limit that protects your battery to the notification cleanup every new iPhone needs.