The market for used cars in 2014 was incredibly strong, and will likely stay that way in 2015. Thanks in part to excellent certified pre-owned programs, along with aggressive prices and great deals, used cars remain a hot commodity for anyone shopping for a vehicle. There are many steps to finding the right transportation solution to meet your needs, and taking a test drive is one of the fun parts. To make sure you have a great experience, use this 7-step inspection checklist before you get behind the wheel for a test drive.
Step 1: Use the VIN Number to Run a Carfax or Autocheck Report
Many dealerships will do this step for you, but be sure to compare the VIN Number on the report to the number on the vehicle. These reports will give you the vehicle history and will show if the car has been in accidents or has had bodywork done.
Step 2: Check Out the Tires
Tires are an expensive purchase, so it’s important to know up front if any of vehicles you test drive will need new tires. Check the tread and if the tires are worn evenly. Also check to see if all the tires are the same brand. If not, that might indicate that the vehicle didn’t have regular tire balances and rotations, or it may have an issue that causes uneven wear.
Step 3: Look at the Body
The Carfax report will tell you if the car has had any bodywork done, but it won’t clue you in to damage that wasn’t fixed. Get on eye level with the used cars at the front and back of the vehicle and look down the lines for ripples or dents. Next, have the salesmen get behind the wheel and turn on the headlights, tap the brake lights, and use the turn signals. Check to make sure that they both work and don’t have cracks or need other repairs.
Step 4: Check for Leaks
Squat down and check out the ground below the car both with it off and with the engine running. If the air conditioning is cranking, it’s possible to have some condensation, but other leaks could be a cause for concern.
Step 5: Check the Doors and Locks
Open all the doors on the vehicle and check to make sure they open and close without issues. Be sure to pop the trunk using the internal buttons and the key (if applicable) as well. Check to ensure the locks work. If they are automatic, be sure to test from the inside, using the key, and any other mechanisms as well.
Step 6: Listen to the Engine
Pop the hood and turn on the engine. Let it run for several minutes and listen for any sounds that don’t belong, like hissing, popping, or strange knocks, as these can be signs of a larger issue.
Step 7: Sit in the Driver’s Seat
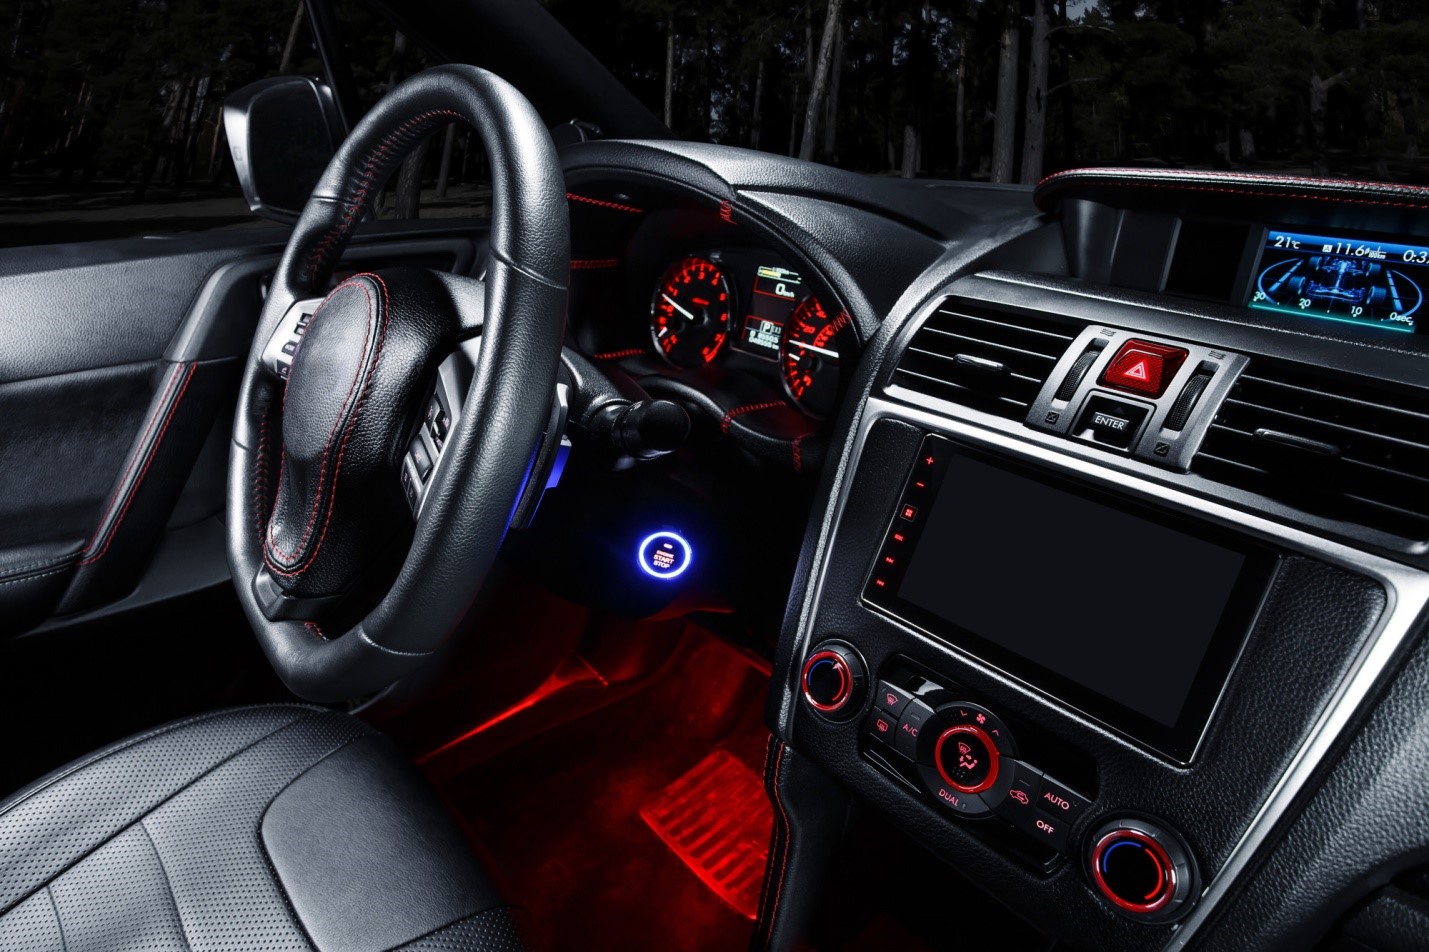
The last step before taking a used car for a test drive is to inspect that everything works as it should inside. Once you turn it on, check to make sure the air conditioner, heater, stereo, CD player, Bluetooth, etc., all work as expected. If the mirrors are electronically operated, take the time to adjust them and make sure they work. Check any function that the salesman mentions to make sure it operates as expected.
Once you’ve finished, it’s time to take to the roads and see how the vehicle performs. Be sure to wear your seatbelt and enjoy your test drive.


