
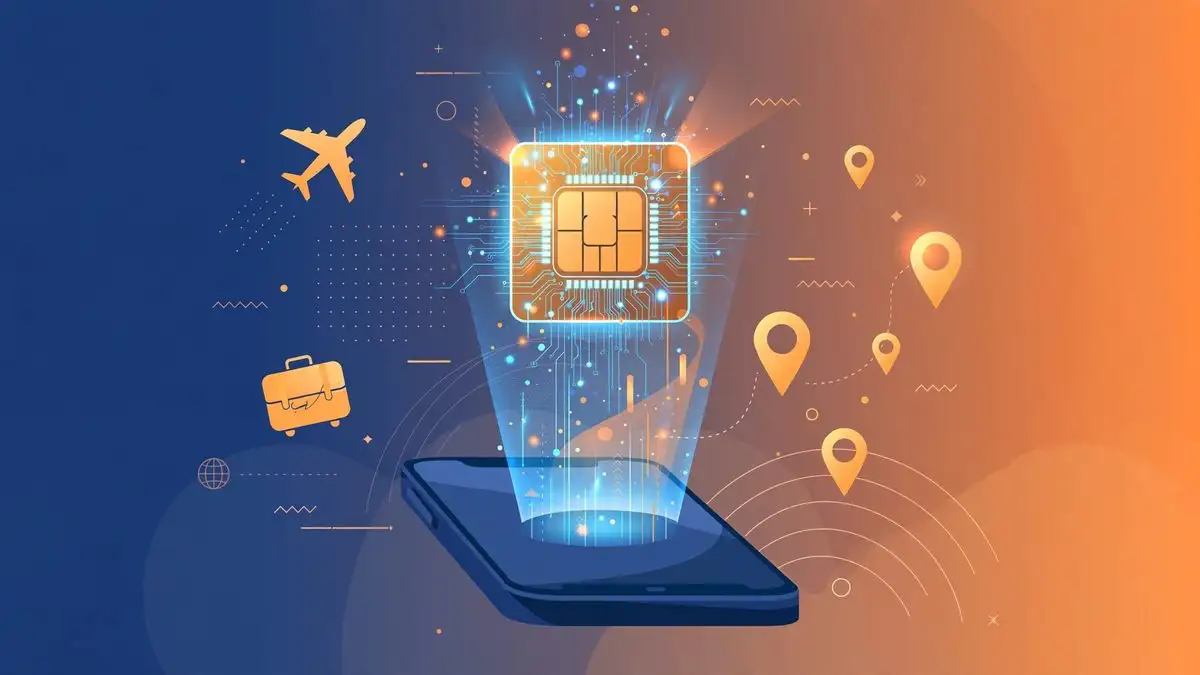
If you buy an iPhone 18 Pro in the United States, Japan, Canada, or nine other markets, you will not find a SIM tray on it. Apple sells the phone as eSIM-only in 12 countries and territories, which means there is no slot for a physical nano-SIM at all. The iPhone 18 Pro continues an approach Apple started with the iPhone 17 Pro, and it has one direct consequence for travelers: the local prepaid SIM you used to buy at the airport kiosk is no longer an option.
The list, reported by MacRumors from Apple’s documentation, covers Bahrain, Canada, Guam, Japan, Kuwait, Mexico, Oman, Qatar, Saudi Arabia, the United Arab Emirates, the United States, and the U.S. Virgin Islands. Everywhere else, including the United Kingdom and the rest of Europe, the iPhone 18 Pro keeps both a physical SIM tray and eSIM support.
Why Apple removed the tray, and what fills the space
Apple’s stated reason is practical. The company says eSIM-only models fit a larger battery in the space a SIM tray would otherwise occupy. An eSIM is a digital SIM built into the phone and activated with a software profile instead of a plastic card, and removing the tray also removes one more opening in the frame.
For everyday use in your home country, nothing changes. Your carrier activates your line as an eSIM, and you never think about it again. The difference appears the moment you cross a border, because the fallback most travelers relied on for years, popping in a cheap local SIM on arrival, simply does not exist on these models.
What changes the day you land in another country
On an eSIM-only iPhone 18 Pro, mobile data abroad has to come from one of three sources: a travel eSIM plan purchased before or during the trip, your home carrier’s international roaming, or Wi-Fi. A phone with no SIM tray cannot accept a physical SIM bought at an airport counter, no matter how good the deal looks.
The good news is that the iPhone handles multiple eSIM profiles well. You can store eight or more eSIM profiles on the phone and keep two lines active at once, which means your home number can stay live for calls and texts while a local travel eSIM handles data. That dual-line setup is the configuration to aim for before you board.
How to set up a travel eSIM before you fly
Do this at home, on Wi-Fi, at least a day before departure. Sorting out activation at 2 a.m. in an arrivals hall is the worst version of this process.
- Check what you already have. On the iPhone, open Settings, then Cellular. You will see your eSIM lines listed. Make sure your home line is labeled clearly, for example “Primary” or your carrier’s name, so you do not disable it by accident abroad.
- Buy a travel eSIM for your destination. Options include your home carrier’s international eSIM add-on and third-party travel eSIM providers that sell prepaid data plans by country or region. Compare the data allowance, the validity window, and whether the plan includes a local number or data only.
- Install it with a QR code or carrier app. Most providers send a QR code or an activation link. On the iPhone, go to Settings, Cellular, Add eSIM, and scan the code or use the carrier’s app. The profile installs in a minute or two on a stable connection.
- Set the travel eSIM as your data line. Under Settings, Cellular, Cellular Data, switch the active data line to the travel eSIM. Keep your home line on for calls and texts, but turn off its data roaming so nothing bills you by accident. The iPhone lets you pick a default line and a data line separately, which is exactly the control you want here.
- Test it before you leave. If the plan allows early activation, connect once at home to confirm the profile works. A plan that fails to activate is a support ticket you want to file from your couch, not from a foreign terminal.
The roaming-versus-eSIM math
Your home carrier’s roaming is the easiest option and usually the most expensive one. A prepaid travel eSIM typically costs a fraction of carrier roaming rates for the same data, especially for trips longer than a few days. The trade-off is a few minutes of setup against potentially large savings, which is why the setup above is worth doing even if you roam once a year.
One caveat: some two-factor authentication codes arrive by SMS to your home number, which is another reason to keep that line active rather than switching it off entirely. Banks, email providers, and work logins all assume your number still works while you travel.
What to check if you are buying the iPhone 18 Pro now
If you are choosing between the iPhone 18 Pro and alternatives, the eSIM-only design is one more factor alongside price and cameras. Apple’s festive sale pricing makes the 18 Pro tempting, our 18 Pro versus 17 Pro comparison lays out what changed this generation, and if you are on AT&T, read the cellular bug notice before you update. But for the frequent traveler, the practical summary is short: buy the travel eSIM at home, install it on Wi-Fi, and the missing SIM tray will never cross your mind.